In September of 2014, hubby Stephen and I celebrated our 10th wedding anniversary. We decided to do something really special, and so went to Hawaii (where we had our honeymoon). We spent some time on the big island, and while we were out taking in the sights, we passed a quilt shop.
Well, you know what happened next, don't you?!?
I picked up a gorgeous blue print (seen below with 3 coordinating solids laying on top).
 |
| (click the photos on this page to see larger images) |
The fabric was a pre-cut single yard. I fell in love with it and grabbed it, never thinking how hard it might be to find fabrics to go with it, or about the fact that a single yard of fabric gets eaten up pretty quickly in a quilt. Foolishly, I thought I could get some more of it from my favorite quilt shop. I went to the shop and found what I THOUGHT was the same print - so I picked up a couple of meters - but when I got home, realized it wasn't the same.
Have a look:
 |
| The fabric I bought in Hawaii is the piece on the right. |
It's not just a matter of dye lot. The new fabric just isn't in the same family of blues as the yard from Hawaii.
I hunted and hunted for this print in shops here in Australia. No joy. With only one yard to work with, well, it was pretty tough to come up with a design which would showcase the print but give a quilt large enough to actually be useful - but here it is:
 |
| I love the 3-d effect. Kind-of makes your eyes dance! |
My quilting software (which I used to develop the design) gives rotary cutting instructions as part of it's features. Each of the "window blocks" is made up of a square, 2 rectangles and 2 triangles. The cutting instructions dimensions given were:
square: 4.5 "
rectangles: 4.5" x 2.5"
triangles: cut from a square 2 7/8", cut diagonally in half to get the triangle shape.
Well, I wasn't about to fiddle with 2 7/8". Instead, you can see (below) how I went about it. I started with 3" squares, placing the dark and light blue fabrics together, drawing a diagonal cutting line on the light square (which you can see in the photo below if you click it to get the larger image), then stitched 1/4" on either side of that line. Then I cut the square along the line and folded the triangles out, as shown below.
The resulting square, made up of 2 triangles, was just a hair larger than the 2 1/2" I needed, so after whipping them up, I pressed them and then trimmed away the excess. It worked beautifully and was a lot easier than trying to sew triangles together without pulling them out of shape on the bias.
And here's a closeup of the blocks - don't you just love that leafy print with the silver highlights?
I was surprised at how quickly the whole thing came together, really. I thought it would take longer than it actually did. The top was pieced together in about 4 hours! And here it is: ready for quilting.
I'd originally planned to quilt it with blue thread, but when I went to buy the thread, I spotted this at the shop:
Variegated blue thread - and it perfectly matches the colours in this quilt!
Here's the finished quilt (below). The variegated thread is visible on the solid fabric, but completely disappears inside the silvery-leaf printed blocks - just perfect!
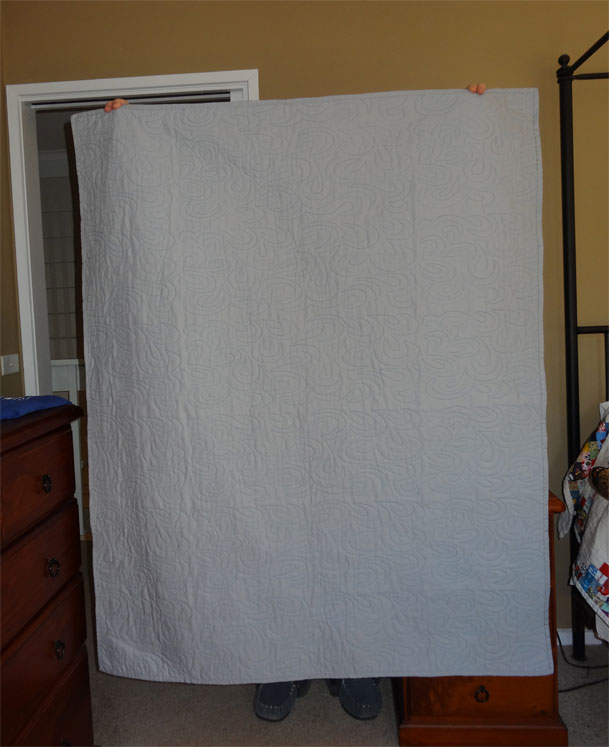
And here's the back of the quilt:
And a closeup of the back, showing the variegated thread on the dove-grey backing fabric:
The finished dimensions are 46"x58" - and the batting used is 100% cotton.
I would have liked to make it a bit larger - oh if I'd only used my head when I bought the fabric in 2014 and gotten another yard of it. I thought about increasing the size by putting on wider borders, but decided against it, as the borders would overwhelm the blocks if they were any bigger.